Almost half a year ago, we’ve published a tiny Screenshot Widget module on Drupal.org. And I’ve just realized that we’ve never posted any manual or at least an announcement about it. Now it’s time to fix this.
As it is seen from the name, Screenshot Widget is a widget on top of the Drupal core Image field. Basically, it changes how an image is being retrieved from the client-side. Image usage remained exactly the same as with other image fields. This module heavily uses html2canvas library which does the main magic.
We’ve used this module to generate a preview of the dynamically-built product (via our product builder module). Though, I see a couple of other use scenarios for this module as well. For example:
- bugs reporting can be used for a custom help desk implementation,
- image generation for social network sharing
- Etc.
To show it’s usage, I will describe the steps to build a simple bug reporting feature for Drupal website.
Prerequisites
First, you need to ensure that you have all requirements met to proceed with the screenshot widget configuration. You need to have the following:
Functioning Drupal 8 website (preferable clean composer-based installation)
Content type with a core Image field. Preferable to call this content type “Issue” or “Bug”.
Proceeding with Screenshot Widget
Of course, the first thing to proceed is installation. Since I’ve suggested using a composer-based installation, I assume you have a composer on your local machine. Run installation command
composer require drupal/screenshot_widget
Once the module was pulled to the file system, you need to enable it via the admin interface or using old-good drush.
drush en screenshot_widget
Now you need to download html2canvas library (version 1.0.0-alpha.12 or later) from https://html2canvas.hertzen.com/ and unzip it into the libraries folder. After that, libraries/html2canvas/html2canvas.min.js file should be available.
I am going to use an image field named “Screenshot”, this way I can keep consistent naming. Though, you can use whatever image field you have in your content type.
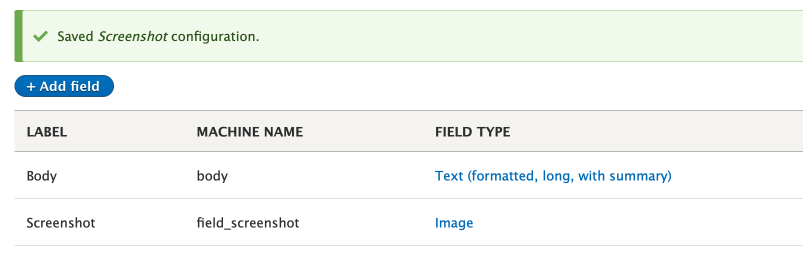
In order to start using Screenshot Widget, the only thing you need to do is to enable this widget on the “Manage form display” page.

Our widget has only a few settings available for change.
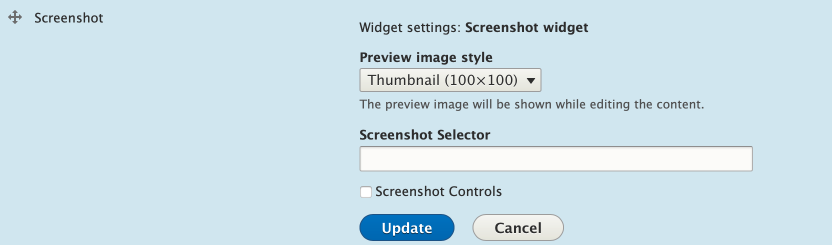
- Preview image style - allows you to select the field thumbnail image style. This setting has been inherited from the original Image field widget.
- Screenshot Selector - allows you to point screenshot generator to a specific element. To do that, you need to set a CSS selector of DOM element. By default, screenshot widget takes a picture of the whole page, using “body” selector. For example, in the case of product builder, we’ve used something like “.product-preview” class as a selector.
- Screenshot Controls - outputs additional button which triggers the screenshot generator. By default it is disabled and the screenshot is being generated on a whole form submit.
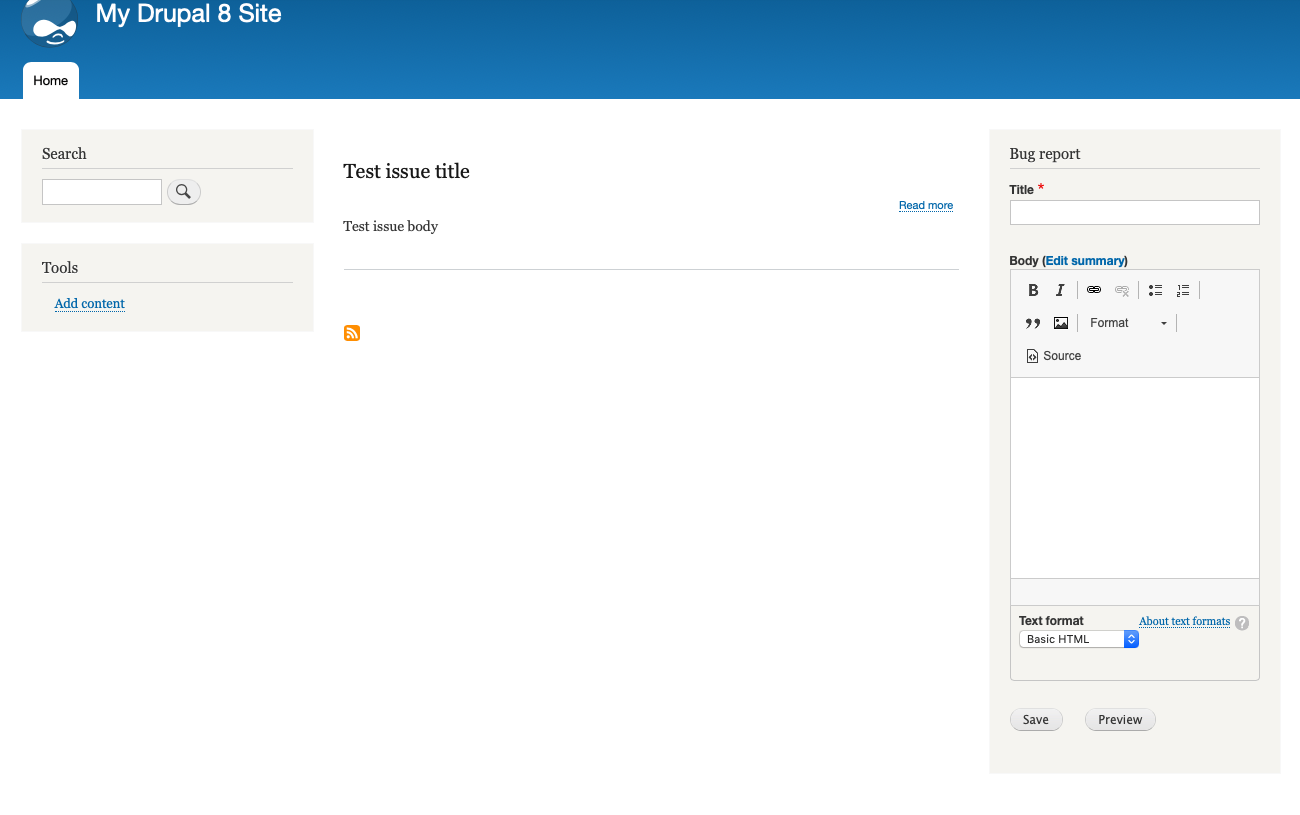
Now when you are creating the “Issue” content, you should see a similar result:
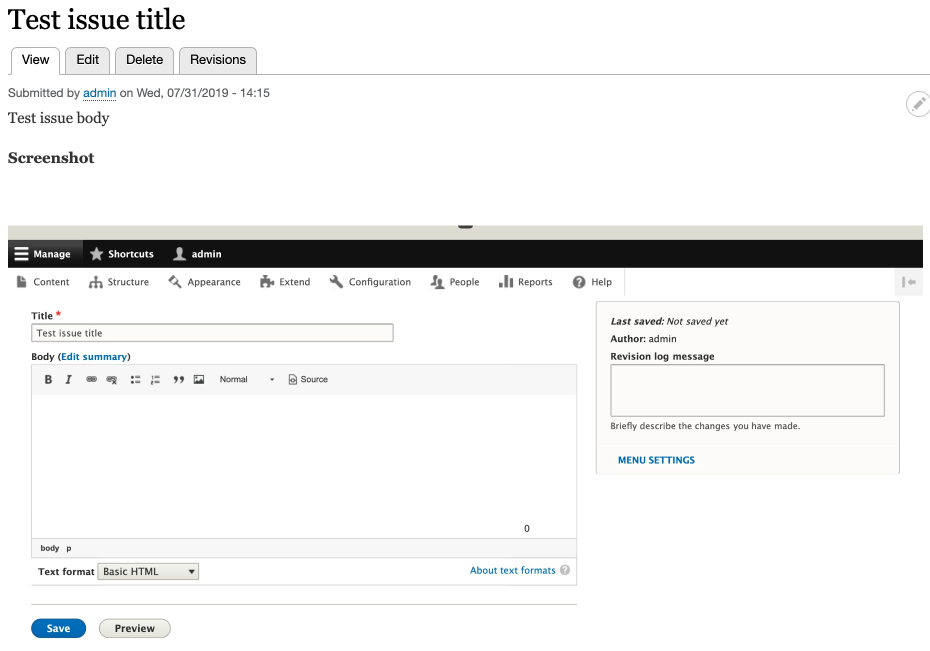
Screenshot of the content form. Not very useful, but already halfway to the expected result.
To make it look closer to a real bug reporting software, we need to place it on all pages of the site. Probably, the easiest way to achieve that is to use a Formblock module, which allows to output specific forms as blocks.
Using this module, we can easily output form in a right sidebar (or wherever fits you best).
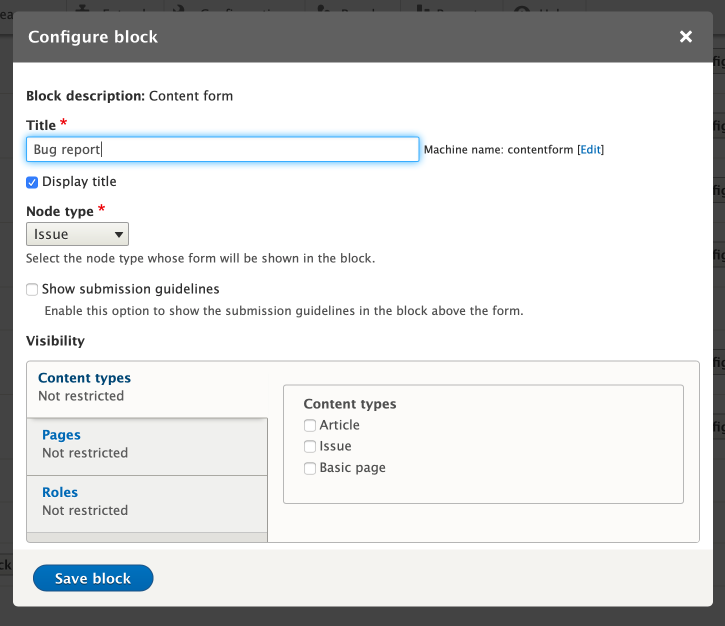
Later, It can be styled to look like a pop-up or pop-over. I won’t stop on the functionality of the Formblock module, there is plenty of information on this topic on the web.
As soon as the form was placed into a sidebar, our goal is achieved. Now we have a form, which allows us to report some layout issues or text typos without need to create screenshots manually and upload them into the form.
I know that the form looks a bit ugly now, but this article isn’t about styling. Honestly, I don’t think that disabling WYSIWYG and applying some graphic sugar to the node form will cause you any problems.
I hope this blog article enlightens the purpose of this tiny module a bit. And as usual, if you have any questions/requests about this module (or any other Drupal-related topic) - feel free to contact us via a website or via social networks.
P.S. Just wanted to share a list of reliable Top eCommerce Development Companies.